The Absolute Noob Guide To Hosting A Personal Website Or Blog On GitHub Pages - Part 3
09 Sep 2014So you have decided to use Jekyll as your website engine of choice. It makes themeable, efficient websites that can be hosted on a traditional web server without the need for computation in the cloud, the hassle of databases etc.
Working On Your Website
You have a few options at this point.
- Blank Jekyll website. Roll a vanilla site and customize the pages to your heart’s content.
- Themed Jekyll website. While you can install themes later, it is a bit of a hassle to do so. It involves manually adding and replacing the folders that come with a basic Jekyll project, leaving your content alone. It’s just a nice idea to pick a theme for now and go with it.
- A forked Jekyll project. People have modified Jekyll to create their own variants. Some come with beautiful layouts and have their own themes. My Jekyll flavor of choice is Poole. There is also Jekyll-Bootstrap, built on the Bootstrap framework.
I would suggest going with one of the forked projects. They generally come with a bunch of modifications that will make your life easier. They usually come with their own installation and modification instructions, which is great!
While you don’t need to be a web design guru to make your blank website and customize it, you will certainly need some work to make it look different from other basic Jekyll websites.
Blank Jekyll Project
You can generate a blank Jekyll website by going to your username.github.io folder using cd and typing
jekyll new .Tip: The dot refers to the current folder, so the new website is created in the current folder.
This creates a bunch of files and folders inside your GitHub Pages folder. You can use ls to see them, or you can simply navigate to the folder in Finder, Windows Explorer or whatever file management system you use.
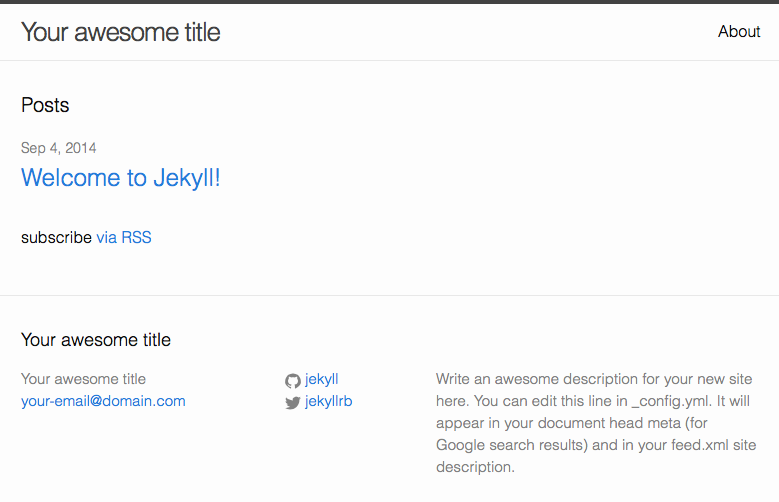
To see what this empty website looks like, you can use the command
jekyll serve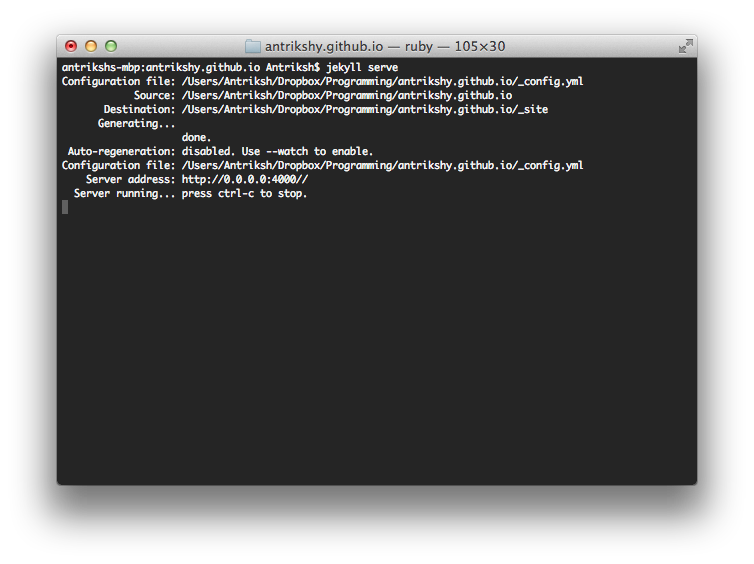
This will create the virtual server that I was talking about earlier. You can open a web browser and type in localhost:4000 as the address. This will show you a blank Jekyll site that looks like this:
Now you can dig into its folders and modify the files to personalize the website.
Themed Or Forked
Whether you want to choose a themed Jekyll or a modified Jekyll instance, you will need to download the Jekyll project from a website instead of using the jekyll new command. Just place these files inside your GitHub Pages folder.
When I downloaded Poole, I just downloaded a zipped folder of this GitHub repo (using the button on the right) and placed its contents inside my antrikshy.github.io folder.
Note:
Anatomy Of A Jekyll Website
You have now set up a Jekyll website. The internals of the website may vary based on the version you download, so you should check the required documentation yourself. But I can certainly go over the bare minimum basics of a Jekyll website.
Jekyll allows you to create page layouts. This means that you can design new page layouts in the _layouts folder. Some forks of Jekyll may come with layouts for special pages already. Think of layouts as scaffolding for a certain type of page on your site. If you decide to create a bunch of pages that have a similar design, you can rely on a layout feature. Check out the layouts included in the _layouts folder to get a feel for them. You can include the same tidbit written in HTML or Markdown inside layouts, so they show in all the pages that inherit from that layout. They include variables that are explained in Jekyll’s documentation.
Here are some files and folders that you should know about:
index.html- contains the home page of your website_layouts- contains files which make up templates for pages, as described above_posts- this is where all your blog posts go_includes- contains files that can be included in layouts and elsewhere with theinclude blah.htmlvariable
You can also create a _drafts folder to hold unpublished content. When you run the serve command with the --drafts argument like so…
jekyll serve --drafts…the virtual server will include your drafts so you can see what your post will look like when published. You can leave unpublished articles inside the _drafts and sync the site without worrying about unfinished content showing up to your readers.
Writing Posts
I do not have too much experience with stock Jekyll as of this writing. I may update this guide at a later point if I do play around with it. I only started off with Poole, which configured much of the website for me.
What you get with jekyll new . is a basic website with a homepage that lists all your posts. You can play around with the index.html file in the root folder to arrange this homepage differently. Either you choose to go with a stock installation of Jekyll or some customized or themed version created by someone else, blog posts are created in the same way.
To create posts:
- Write a post in Markdown. You can use any text editor of your choice. You can draft posts as described in the previous section to see what they look like on the website.
- Place the post in the
_postsfolder. - To publish articles, you need to save the file with a certain naming format. This format is
YEAR-MONTH-DAY-title.md. For example, I have named this post2014-09-09-the-absolute-noob-guide-to-hosting-a-personal-website-or-blog-on-github-pages-part-3.md. The title does not have to match the actual title of the article (I will show you how to set that later). The title in the file name is used to link to said post from other posts in the website. This way, all internal links will continue to work even if you change domains or rearrange your Jekyll project later. Jekyll’s documentation describes this in detail. - Add YAML Front Matter at the very top. This Jekyll docs page explains it. Basically, this bit describes to the Jekyll engine what the file contains. The
layoutattribute makes sure that thepostscaffolding gets applied to the page. Same goes for any other page you create on the website. Thetitleattribute is what gives the post its title. - Sync the website with GitHub.
Jekyll Tips
I will probably add points here as I learn more about Jekyll.
Use the --watch argument when using jekyll serve to rebuild the website every time changes are made. This way, as you make changes to any of the files that make up the website, the virtual server will instantly update changes. You can refresh the localhost:4000 to see changes almost live. For best results, use
jekyll serve --drafts --watchCustom Domain Name
Now that you have a website up and running at a free domain like username.github.io, you may want to have a custom domain name like www.yourname.com or blog.yourname.com point to it. This is very easy to do. Simply buy a domain name. I use and recommend Namecheap myself. They have competitive pricing and are very easy to use. They don’t spam you with emails later and have various support options in case you need help.
This guide walks you through the instructions for Namecheap, although it should be similar for other services.
Configure Top-Level Address
- Create a new file in your folder. Call this file
CNAME, without any extension. In this file, add a single line: www.yourname.com, blog.yourname.com, or whatever URL you want to point to this website. - In your Namecheap ‘Manage Domains’ page, click the domain you want to point to your GitHub Pages site. Go to the ‘All Host Records’ page for this domain.
- Set the
IP Address/URLfor@to192.30.252.153and theRecord TypetoA (Address). - Set the
IP Address/URLforwwwto*username*.github.ioand theRecord TypetoCNAME (Alias). - Under
Sub-Domain Settings, set the first field to@, itsIP Address/URLto192.30.252.154and itsRecord TypetoA (Address). - Set all TTL fields to 1800.
Configure Subdomain
- Follow steps 1 and 2 above.
- Set the first field under
Sub-Domain Settingsto whatever subdomain you want to point to your GitHub Pages site. This can be ‘blog’ if you want blog.yourname.com to point to your site. - Set its
IP Address/URLto*username*.github.ioand itsRecord TypetoCNAME (Alias).
If these steps do not work, ask me in the comments. I set my ‘blog’ subdomain to this site, but my personal site is hosted on Amazon S3, so I used Amazon’s Route53 to configure everything. I might explore this in a future post.
Where Do We Go From Here
I set my website up using this excellent guide by Joshua Lande. His post may have some nifty tips that you may find useful. He has a more detailed explanation about customizing page layouts.
GitHub’s support has a ton of documentation for configuring your GitHub Pages site. It is more geek-oriented, but it has detailed explanations.
Jekyll’s documentation has instructions for composing posts, adding images, file downloads and more.
Feedback
Please submit any feedback in the comments and I will try to respond to them very quickly. I have never done a technical blog like this one and this is one of the first posts I ever made. Therefore, some things may not be too clear.